Look Ma! No Hands! Pt. 2
Last time I discussed the processes I did to start this project called Cash Rules Everything Around Me. I've always been fascinated with mechanical and electrical things and as a kid got into a lot of trouble taking things apart, trying to figure out how they worked, and then trying to put them back together again; some times unsuccessfully. Just recently i've gotten back into this and created pieces that used a simple motor system to make it move in a crude way just for fun. I think they call these things kinetic sculptures. So for this project I wanted to create something that played music that was either 3D printed or milled in a CNC machine. I wanted to focus on music because music is intangible technically, and technically not visual either unless you count sheet music. I saw this image online of a speech President Obama gave of the State of the Union. But me being impatient as I am I read the caption and thought that this was a machine that used a laser to read the ridges of the speech and played the sound from that. So I brought this into my class as my inspiration for my project. However, when I went back that night I read the post more thoroughly (Obama Speech) and realized that the laser only tracks the 3D print and there is a player with speakers that actually plays the speech. Oh greeeeat...
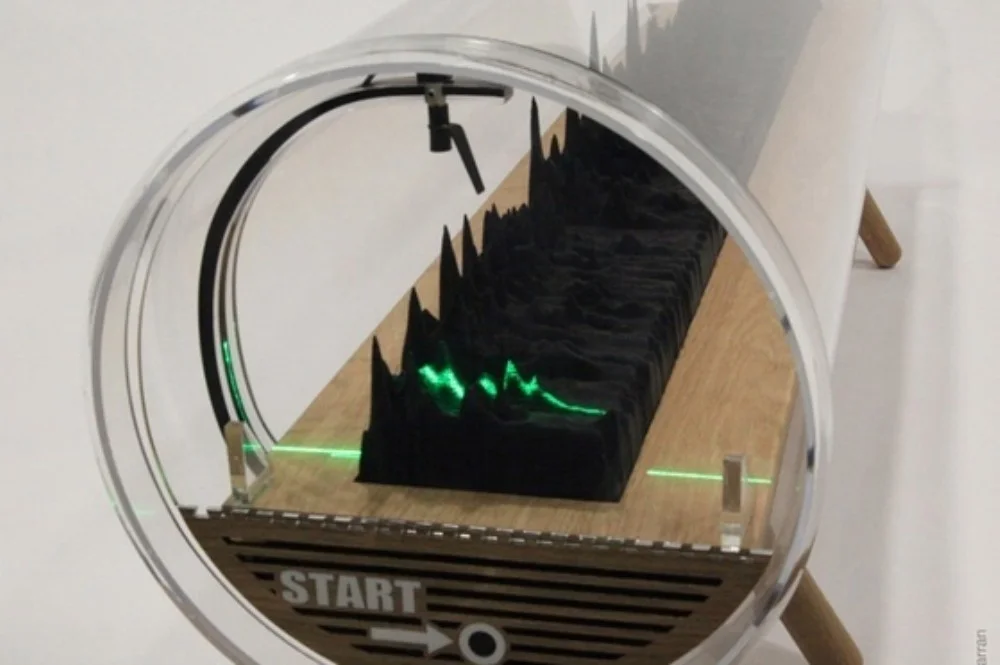
early inspiration for this project from http://thecreatorsproject.vice.com/blog/3d-print-obama
So I took it upon myself to create something that did play music that was 3D printed/CNC milled. The last post I explained what it took to get ready to design the project... a lot of research into things i've never done before. What this project turned into was something that played the kalimba without you ever touching it beyond pushing a button. This would be done with the use of a Kalimba with a set of notes already tuned into it, a plucker that was milled out of wood and a linear actuator that was controlled with an arduino.
After I got the prototype Kalimba made I could start on the 3D design of the project using Rhinoceros. I needed the prototype of the Kalimba so that I could get the profile of the tines because if I didn't have the profile of the tines then I wouldn't be able to figure out the shape of the plucker. After I completed the prototype of the Kalimba I took pictures of it in elevation to place into Rhino to design over the shape. Here's the results.

3D design of the pieces of the Project in Rhinoceros
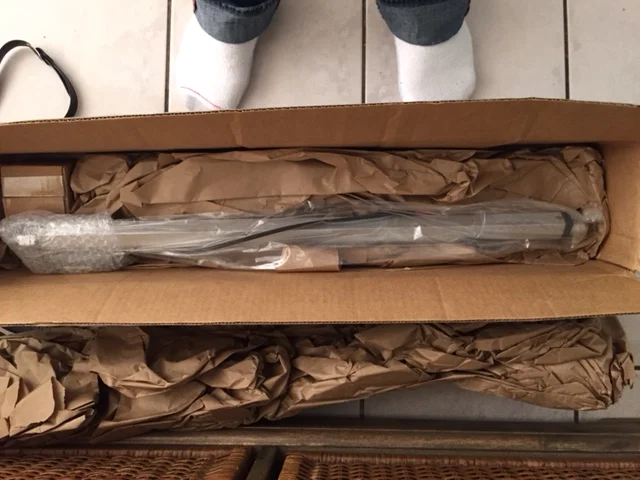
it's like Christmas in Spring! Linear Actuator from Firgelli Automations
I bought a linear actuator for Firgelli Automations online along with some heavy duty drawer sliders and the mounts to go with the actuator. I took them to my professors studio to solder the wires together to get the actuator working for when I mock up the final project. The thing about this project is that there is no manual on how to make something like this, so figuring out the plucker is kind of a on the spot decision. According to Mark Holdaway of KalimbaMagic.com, the plucking motion isn't just a straight up and down motion and in fact that if I just designed the plucker with little rectangles that stood up it probably would sound just like a thud. The sound comes from the vibrations of the spring steel. So there needs to be something that pulls the tines back and plucks at the end when it lets go. It actually made for a more elegant solution to the design. I also realized there needs to be a steep drop off at the end so that the tines don't flick back and stop the vibrations.
Also, in figuring things out I had to take into account the speed of the linear actuator. On the specifications page of the linear actuator on Firgelli Automations I found that the one that I bought moves at 2 inches a second. The music is set at 100 bpm (beats per minute) and takes about 5 seconds to complete. Which means that in order for it to play at the correct speed the little pluckers need to be in range of 10 inches to play at that speed. With arduino I would be able to control that speed to make it move slower, but the limitations of the linear actuator means that I can't make it move any quicker than it's motor will allow. I know this all sounds technical; and it is, but i'm learning this as I go. Like in Jazz, improvisation is key. I guess you can call me the Mcguyver of art?
Again there is no manual on how to make something like this, so this is all just trial and error. If something doesn't work well I guess it's back to the drawing board... But i've sent this to my Professor to get milled out so hopefully this is a one shot deal.
NEXT TIME: Assembly